How to Apply Decals to Big Cars & Walls

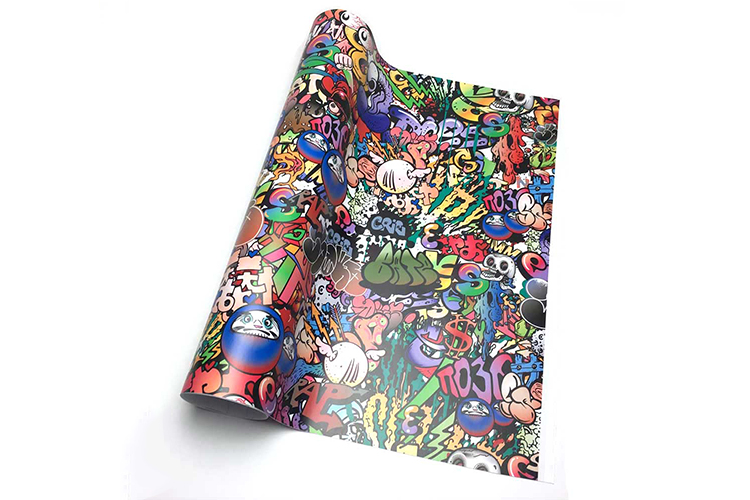
Still about how you can apply car decals? Yes, we know that the process can be really challenging but how do the pros do it?
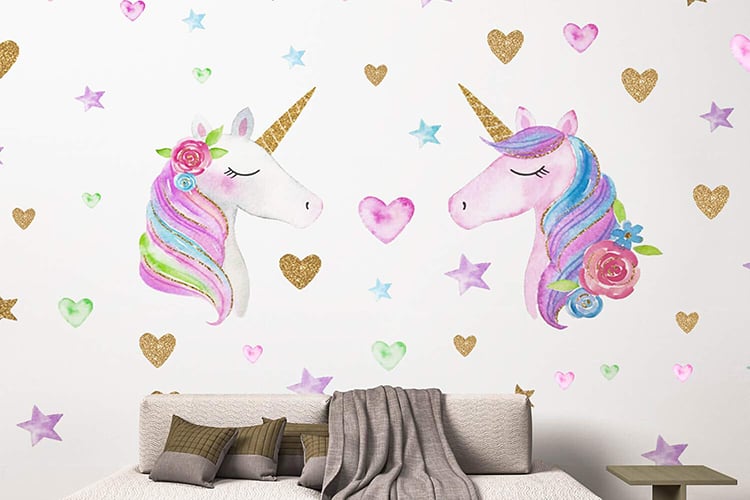
When you plan to use wall decals, you need to know how to fix them. If you don’t, you would be wasting a lot of decals. In this post, we would show you how to apply wall sticker decals with ease.
Are you ready? Let’s jump right in.
https://www.youtube.com/watch?v=uCObOhSh97U
Applying large decals
When applying small decals you really don’t have a problem. The process is easy and straightforward plus it doesn’t take a lot of your time. This is totally different when you apply car decals that are quite large.
If you don’t have the master skills to apply these large wall sticker decals, you’d mess them up. This means you have just wasted a lot of money.
To use wall decals, you need to get rid of the shiny heavy paper covering as well as the thinner covering. These are present to protect the stickers (know more) but have to be removed while fixing. If you the removal process wrong you would wreck the sticker.
What do you do? We will lead you through a step-by-step process of how to apply your decals to large spaces.

Step 1: Apply a huge tape at the top
We have already told you about the large wax paper covering your decal. In this stage, you don’t need to remove it. Simply focus on the decal and ensure the part covered with tissue paper is toward you.
Before you begin, ensure that you have gotten the largest masking tape you can possibly find. Now, with the tissue paper cover facing you, tape your decal at the upper edge using this jumbo-size masking tape. 
Many professionals have described this tape as the hinge which holds the decal through the application process.
Step 2: Divide your decal into several sections
This will help you achieve precision as you apply car decals and also avoid unnecessary bubbles. It is just like handling a huge project, you are always advised to split it into modules. This is basically splitting your wall sticker decals into modules for easier application.
Fixing large wall decals is quite complicated, especially when the surface you are fixing on is curved. This is why you need to cut the decals into smaller bits that you can handle easily at a time.
To cut the decals, you need a quality pair of scissors. Don’t worry, your cut doesn’t have to be straight, it just needs to be neat.

Step 3: Final Cleaning
If you want to use wall decals, you first of all need to clean the surface where they would be placed. When the surface is rough or dirty, you would be struggling with a lot of damage later in the application process.
To ensure that the surface is clean, get a clean wet cloth and wipe through a couple of times. After doing this, you can gleam through using a dry cloth. By now, your surface must be sparkling clean so it is ready for your decals.
Step 4: Using soapy water
You probably heard of this secret before now, even if you did, you may not have believed. However, when you think about it now, it should strike you as logical.
You just need to mix some soap with water and pour the mixture into a spray bottle. Pros recommend that for 95 parts of water, you add 5 parts of liquid soap. This way the mixture is not extremely soapy.
The idea behind using soapy water is to ensure that your wall sticker decals don’t stick immediately. This is necessary so that you can make adjustments where necessary.
There is an added advantage. With the soapy water on the surface, you can easily squeegee any bubbles or wrinkles out before the decals stick. When you apply car decals, this is one of the major secrets to employ.
Within a few minutes, your soapy water dries up and the decal is firmly in place.

Step 5: Peel the heavy paper off
Covering the adhesive part of your large decal is a heavy paper. This was put there to keep the adhesive properties intact. It is time to get rid of that heavy paper.
Already, your masking tape is holding the decal in place acting as a hinge. Simply raise the free edge of the decal and locate the other edge to peel off the heavy paper. Be very careful as you do this so that your decal remains straight and flat.
You should also ensure that you avoid touching the surface. This shouldn’t be done when you are distracted or there’s a lot of wind.
Step 6: Smooth the decal on
If you want to use wall decals, then you must be ready for the challenge of fixing them. Smoothening the decal on the surface can be quite challenging. Since it is a large decal, you’d probably need another person’s help.
Let your helper hold the decal flat, making sure it is directly on the surface. You can smoothen the decal gradually this way.
Step 7: Peel and Paste
This is another method which some pros consider to be easier. It requires you to peel off the cover on the decal and apply it immediately to the surface.
Step 8: Squeegee your decal
You need to squeegee the decal to get rid of any existing bubbles. This is after you have pasted the decal using your hands.

Step 9: Get rid of the cover paper
Many people who want to use wall decals make the mistake of peeling from top to bottom. Don’t do this because it will damage your decals. It is best you do the peeling sideways.
Step 10: The final squeegee
Just like you did earlier, squeegee out any remaining bubbles. If you used soapy water, you are likely to get some out here.
Step 11: Finished
You have just successfully applied your wall sticker decals. Wasn’t that easy?
Conclusion
Now you know that to apply car decals isn’t so difficult. With the process spelled out above, it is like strolling down the street, easy. If you have any questions, ask them in the comments section. If you have any demand for custom stickers online, welcome to inquire us at Zigpac.


Validate your login
Sign In
Create New Account